In AWS IAM, permission policies play a crucial role in securely controlling access to your AWS environment. You can attach three types of permission policies to your identities: AWS-managed, customer-managed, and inline policies. In most cases, AWS recommends using managed policies over inline policies, especially customer-managed policies created from AWS-managed policies. However, there may also be cases for inline policies. In this post, we will quickly explore IAM’s permission policies to help you decide which is best for you.
By the way, we will only talk about AWS IAM’s identity-based permission policies in this post. The resource-based trust policies used in IAM roles, in which you specify the principals you trust to assume a role, will be out of the scope of this post. So, when we use the ‘policy’ term below, it will only refer to an IAM permission policy: AWS-managed, customer-managed, or inline. Then, let’s begin.
So, when you attach a policy to an identity (a user, group of users, and a role), that policy determines whether to allow or deny access to your AWS resources. Hence, with security threats in mind, choosing the right policy type for your needs is essential, as well as granting the least privilege. But you wouldn’t want to increase the management overhead while doing this, right?
Each IAM policy type has its use cases. So, let’s analyze each one to see what features it offers.
What do AWS-managed policies offer?
The AWS-managed policy is a standalone policy that exists independently from an identity. That means each AWS-managed policy has its own Amazon Resource Name (ARN). The main advantage of AWS-managed policies is that AWS undertakes the whole process of creating and managing AWS-managed policies. So, you don’t need to bother yourself with writing and maintaining them.
Also, AWS updates the policies when required to add new features. Then, all the identities to whom an AWS-managed policy is attached automatically get the updated policy permissions.
Attaching an AWS-managed policy to an identity is straightforward.
Firstly, from the IAM console, you go to the profile page of the identity (user, user group, or role).
For IAM roles and groups, click the ‘Add permissions’ section on the ‘Permissions’ tab and choose the ‘Attach policies’ option from the dropdown.
For IAM users, you click the ‘Add permissions’ menu and choose ‘Add permissions’ again. Then, you select the ‘Attach policies directly’ option.
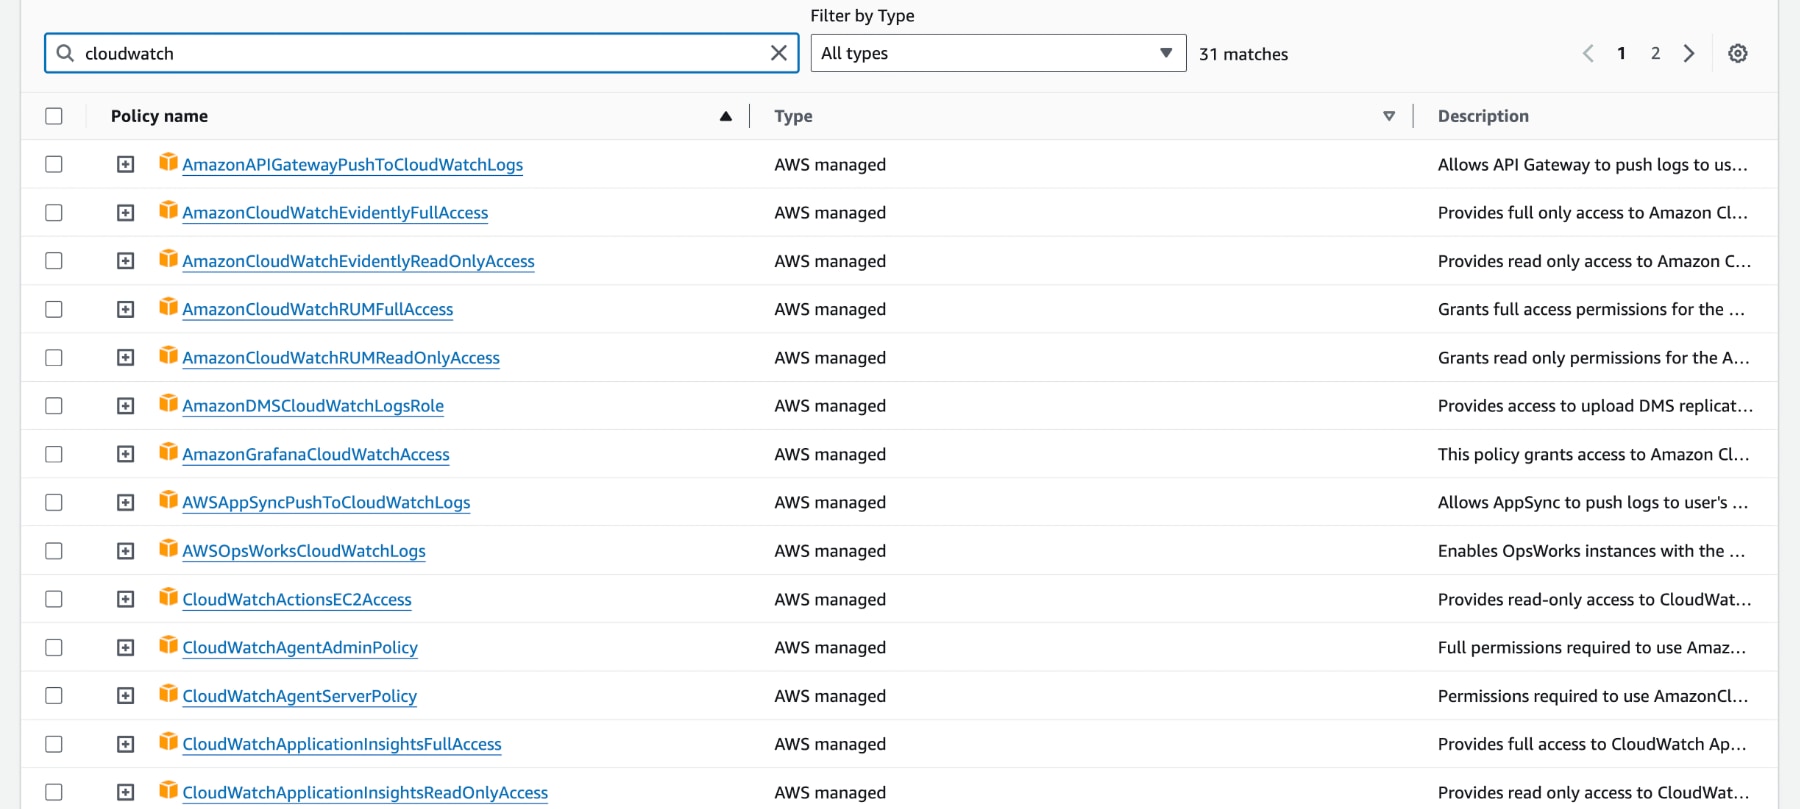
After that, you can see all AWS-managed policies available to choose from. You can filter them using the search box. The interface may be slightly different, but you can see an example of AWS-managed policies filtered for ‘cloudwatch’ below.

- You can choose the ones that fit your requirements and attach them to your IAM identity.
Currently, there are over a thousand AWS-managed policies. Please remember that AWS-managed policies can be used for more than one identity in one account or across multiple accounts.
Do AWS-managed policies work in all cases?
Besides the advantages, using ready-made AWS-managed policies may sometimes be unfavorable because you cannot change their permissions yourself. Your requirements may differ, or you may need to grant specific permissions to your identities other than those described in the AWS-managed policies.
Besides, AWS creates policies for general use cases and scenarios. Therefore, they could cover more permissions than the ones you intend for your identities. You may also need to limit your permissions for specific resources in your AWS account.
In those cases and many more not covered here, using an AWS-managed policy would be against AWS security best practices for granting the least privilege, which means giving the minimum permissions necessary to your identities. As a solution, you can create customer-managed policies by setting permissions aligning with your needs.
Tailored for your needs: Customer-managed IAM policies
Like AWS-managed policies, customer-managed IAM policies are standalone policies that can be attached to multiple identities. You can easily create and manage policies yourself.
To do this, you go to the IAM console in your AWS account.
On the left-hand side, select the ‘Policies’ section under ‘Access Management’ and then click the ‘Create policy’ button to create one.
On the Create policy page, you will see two policy editor options: one is a ‘Visual’ editor, and the other is ‘JSON.’ JSON editor is the preferred option in most cases. However, you can create a policy from scratch with the Visual editor if you don’t know the JSON syntax.
In the JSON editor, you can either type a new policy or paste an existing policy and then customize it. Usually, AWS recommends copying an existing AWS-managed policy and modifying it according to your requirements.
A typical JSON policy looks like this:
{
	"Version": "2012-10-17",
	"Statement": [
		{
			"Sid": "Statement1",
			"Effect": "Allow",
			"Action": [],
			"Resource": [],
      		"Condition": {

      		}
		}
	]
}
Your JSON policy can contain multiple statements defined under the ‘Statement’ array, which specifies a set of permissions to be allowed or denied. A statement consists of these sections:
Sid: A unique statement ID.
Effect: ‘Allow’ or ‘Deny’
Action: The actions that will be allowed or denied.
Resource: The resources that the policy will cover.
Condition: Optional section for setting conditions to filter the resources to create a more granular policy. For example, you can add a ‘StringEquals’ condition to filter the resources based on a tag value.
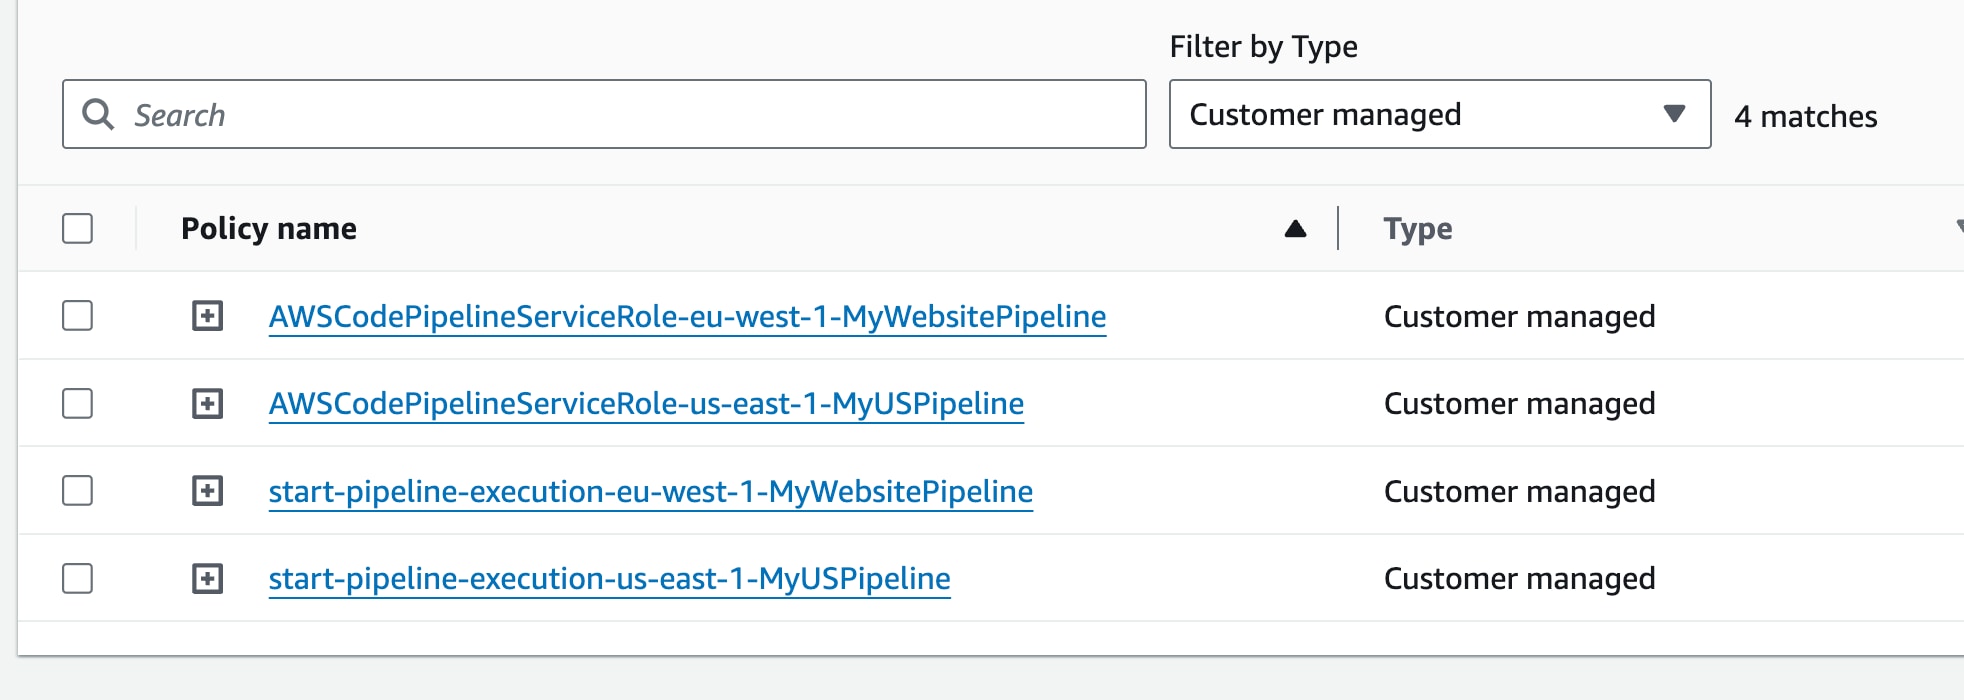
You can attach your customer-managed policies like you would an AWS-managed policy. When the managed policies are listed, you can use the search field to find your policy or list only customer-managed policies using the type filter.

Like AWS-managed policies, when you update permissions in a policy, the changes apply to all identities to whom the policy is attached. So, it brings reusability advantages over inline policies, as you will see below.
Having said that, customer-managed policies have many advantages over other types.
Compared to AWS-managed policies, you can make any update or change you want without waiting for AWS to do so.
Besides, unlike AWS-managed policies, you can customize your customer-managed policies to cover only specific resources.
Most importantly, customer-managed policies bring versioning and rollback features. When you update a customer-managed policy, IAM saves it as a new version by keeping up to five versions. So, if you encounter a problem after an update, you can quickly roll back to a previous version of your customer-managed policy.
What about inline IAM policies?
You also have a third policy option to use: inline policies. In most cases, inline policies are not favored much as they offer limited features compared to managed policies. Inline policies are directly embedded into a user, user group, or role, and becomes an inherent part of the identity. Therefore, when the identity is deleted, its inline policies are also destroyed.
So, there is a stricter relationship between the inline policy and the identity compared to managed policies. This usually makes using inline policies inefficient. When you want to change permissions in an inline policy, you must do this from the identity profile. If you have more than one identity containing the same inline policy, repeating the same process for each one becomes tiresome and prone to errors.
On the other hand, this direct, one-to-one relationship between the identity and the policy can be favorable in certain situations. Suppose you need to ensure that a policy’s permissions are not granted to a wrong identity in any way. In that case, you can use an inline policy to prevent inadvertently granting permissions to identities other than that you assign for.
Each IAM policy is a JSON file with a character limit, and the maximum character limit for an inline policy is smaller than that for managed policies. If you reach the maximum character limit in an inline policy, you will need to divide it into multiple inline policies or convert it to a customer-managed policy.
Let’s briefly talk about creating an inline policy as well.
To create an inline policy, first go to your user’s, user group’s, or role’s page on the IAM Console and switch to the ‘Permissions’ tab.
This time, you should select ‘Create inline policy’ from the ‘Add permissions’ menu.
Then, you will see Visual or JSON policy editors again, as in the customer-managed policies. You can add your permissions, which should apply to the relevant identity there.
3 key differences to note between IAM policy types
As discussed above, specific use cases exist for managed and inline policies. Before deciding which one to choose, we recommend you evaluate them individually according to your use case. But to make it easier for you, let’s recap the primary differences that would affect your decision.
Firstly, an inline policy can only apply to a specific identity. Meanwhile, managed policies, either AWS-managed or customer-managed, can be attached to multiple identities. So, if you consider assigning a policy to various identities, using managed policies would be the feasible option. Also, you can convert an inline policy to a managed policy later if you change your mind.
Another significant difference is about policy updates. AWS already updates policies as needed for AWS-managed policies. Also, you can easily update a customer-managed policy by adding or removing permissions yourself. After these updates, relevant changes will apply to all identities to which the policies are attached. On the other hand, if you define the same inline policy in multiple identities, you must edit the policy in each identity one by one to add or remove permissions, which would be an efficiency problem.
Customer-managed policies bring versioning and rollback capabilities to your policies. When customer-managed policies, you can quickly roll back to a previous version, which can be the sole reason to choose them over others.
Managed policies allow more characters compared to inline policies. So, at some point, you may have to divide your inline policies into multiple or convert them to customer-managed policies to provide more permissions.
Conclusion
AWS-managed policies, customer-managed policies, and inline policies are three IAM policy types suitable for different use cases. Whichever you choose, granting the least privilege access to your resources while managing them efficiently is crucial for securing your AWS environment.
In this post, we provided an overview of AWS policy types. We hope this will be helpful when assigning permissions to your IAM identities in your projects.
Thanks for reading!
References


